There are several services available within Microsoft Azure that focus on traffic management and load balancing workloads. To confuse matters, Microsoft released Azure Front Door (AFD) in April 2019, which aims to incorporate their existing technologies as well as providing new features, by introducing a secure entry point for web applications. In this article we explore what AFD is and how you can use it.
AFD is a layer 7 (application) reverse proxy, this ensures that Front Door is routing all client requests to the fastest and most available backend. A backend is essentially a public facing service (web server or service). You may be wondering what the benefit is of using AFD over alternative services such as traffic manager. AFD differs as it supports SSL offloading and global HTTP load balancing for highly available web apps. This article will explore how AFD can be leveraged to secure and traffic manage your public facing web services.
Scenario
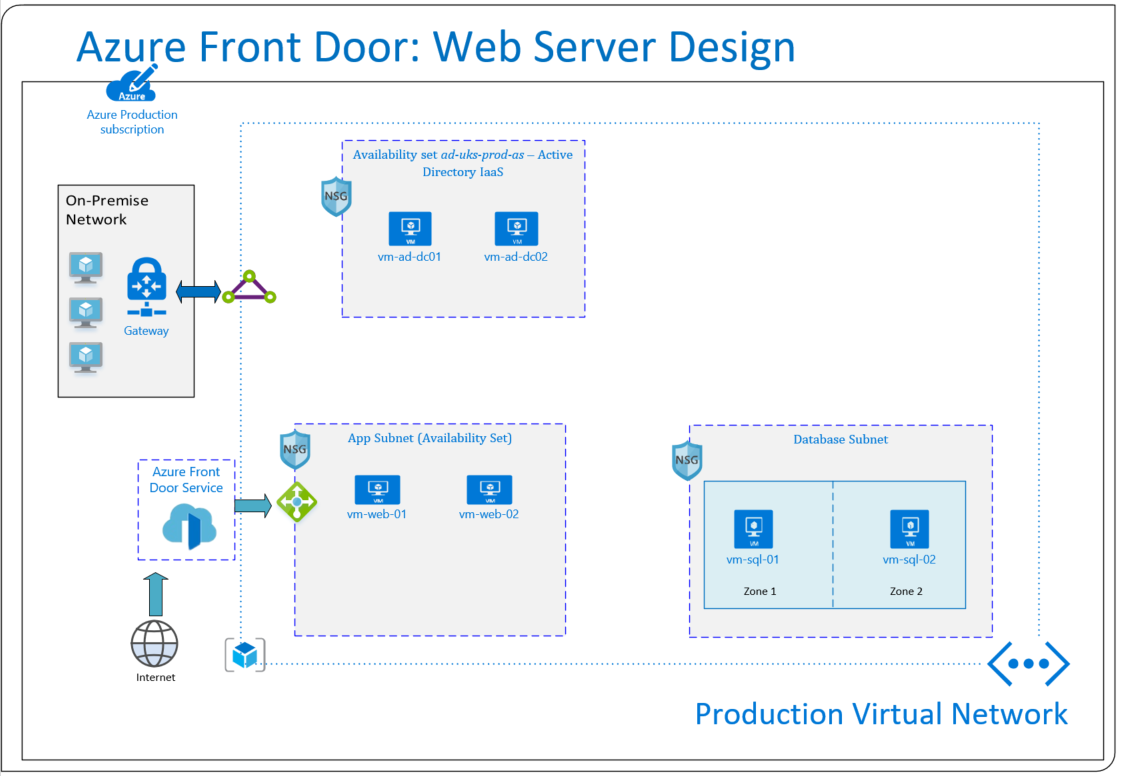
In this scenario there are two web servers running on virtual machines, hosted by Azure. There is a requirement to load balance traffic to the servers. In the event of a VM failure on server 1, end users will remain unaffected and AFD will automatically redirect traffic to the next available server. A custom domain will also need to be linked to the web servers. On top of this, we need to ensure that the site is protected against common web attacks by utilising Web Application Firewall (WAF) capabilities:
Prerequisites
Before AFD can be deployed, the following prerequisites must be met:
- An accessible web application. In this scenario, a virtual machine with internet information services (IIS) is being used.
- Azure Resource Group.
- A registered custom domain name.
Web Servers
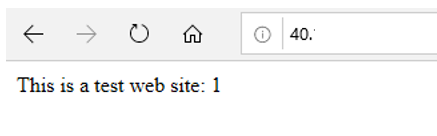
The two web servers have been placed in an isolated subnet called app subnet. The servers both have public IP addresses allocated and simple web sites have been configured on each server. Each server has been numbered for demonstrative purposes:
Create Azure Front Door
A front door configuration will be created to support the above scenario. User traffic will be directed based on the lowest latency between the two web servers.
1. In Azure, create a new resource in the desired resource group. Add > Networking > Front Door > Create.
2. When prompted, you must provide basic information such as the subscription, resource group and resource group region.
3. A frontend host will be required to associate front door to a domain name:
A custom domain name will not be defined here, this will be configured once the front door has been setup. For now, provide a suitable name:
xxxxx.azurefd.net

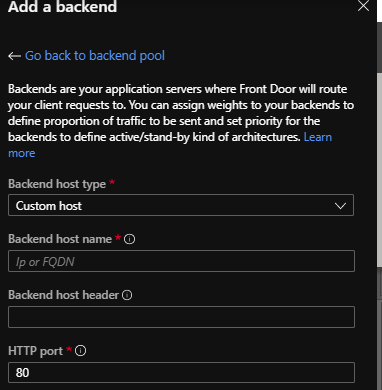
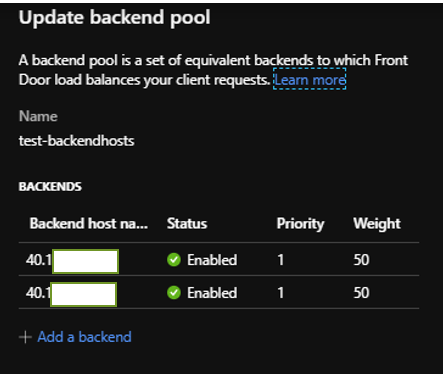
4. Next, the backend pools will need to be configured. Give the backend pool a name: “test-backendhosts”. For the backend host type, “Custom host” will need to be selected and the public IP addresses of the web servers should be populated.
5. Confirm that the both servers hold equal weighting:
6. Finally, a routing rule will need to be setup to complete the AFD configuration wizard. This is needed to map the frontend host to the backend pool. This means that if a request comes into the frontend host name: mktest.azurefd.net then AFD will forward traffic to the backend pool test-backendhosts.
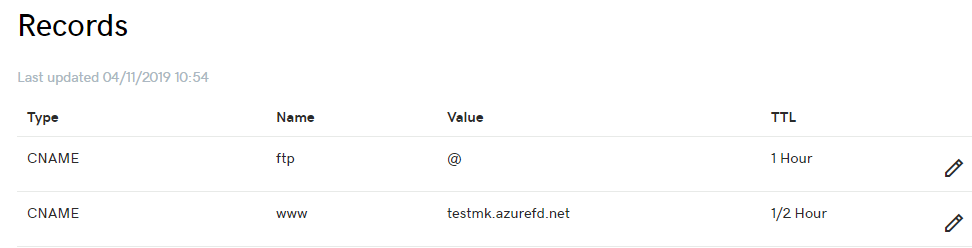
CNAME DNS Record
There is a requirement to link a custom domain name to AFD. For this to successfully work, a CNAME DNS record needs to be created with your domain provider to point to the AFD default frontend host:
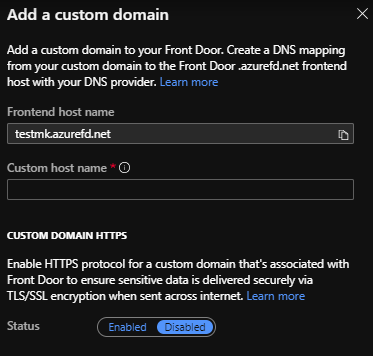
Allow some time for the DNS record to propagate, then navigate back to Front Door designer in Azure. Click the + symbol next to Frontend hosts to associate the custom domain. The frontend host name will automatically appear, type in the custom domain name in the field below.
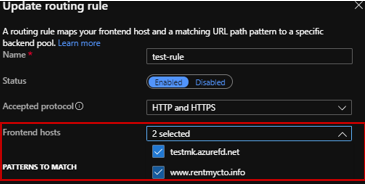
The routing rule created previously will also need to be updated to factor in the custom domain:
Web Application Firewall
It is possible to link a WAF policy to your AFD. This is highly recommended as it offers increased protection against threats.
1. In the top left-hand side of the screen, click on Create a resource > search for WAF > select Create.
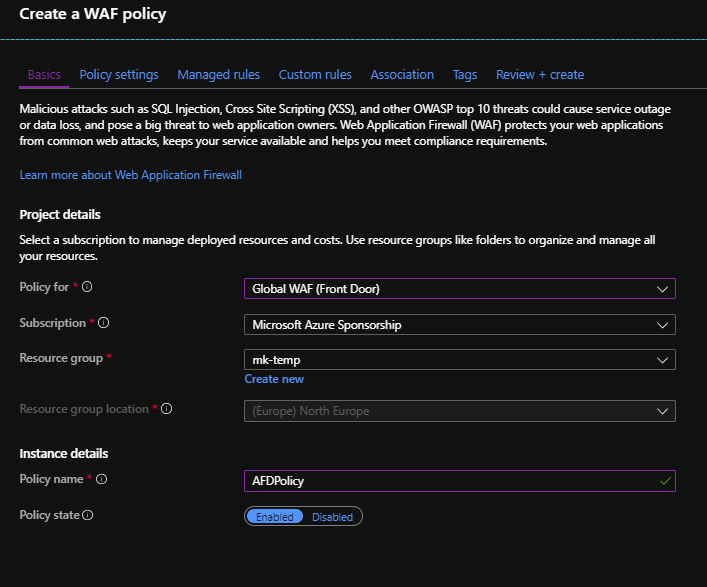
2. Apply the policy for Front Door. Choose the appropriate subscription and resource group. Provide a name for the policy:
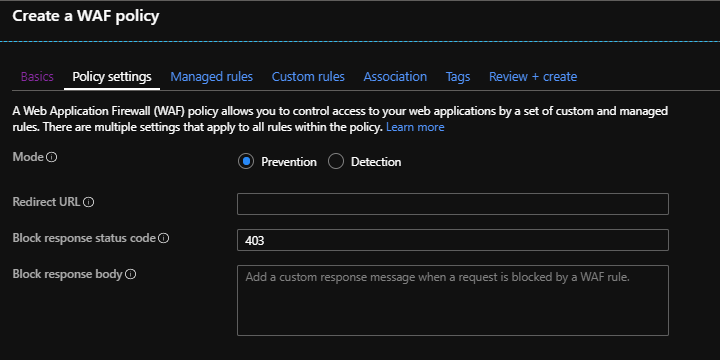
3. Select Prevention:
4. Under Association, associate the FD host and custom domain to the policy.
5. Leave all the default values for the remaining steps and create the policy.
Front Door Live Test
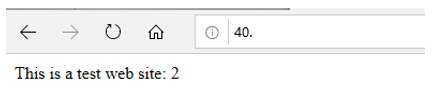
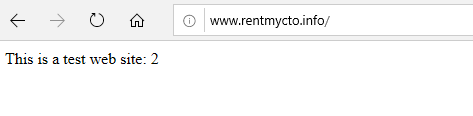
To test the AFD configuration, we must power down one of the virtual machines to see if traffic is redirected to the second server. After vm-web-01 is powered down, traffic is successfully re-directed to the alternative server:
Conclusion
AFD is a strong addition to Azure and as demonstrated, it is extremely powerful. This article scratched the surface on AFD features, and it is capable of much more.
If SSL offloading or application layer processing is not a business requirement, then it would be worthwhile looking at traffic manager instead. If AFD sounds like the right fit but it isn’t required today, it would still be a good idea to heavily consider deploying an instance as it allows you to scale at ease in the future.
If you'd like further help leveraging the power of Microsoft Azure, contact Crimson, the leading Microsoft Azure partner, today on 01675 466 477
Read On