Microsoft’s ‘PowerApps’ allows your organisation to innovate faster by creating simple, easy to use business apps with a point-and-click approach to app design. Long gone are the days of manually writing each line of code and spending hours of your precious time debugging, only to discover that one rogue ‘;’ was the cause of all your problems. So, put down your ‘Coding for Dummies’ book and take a look at what Microsoft’s PowerApps has to offer.
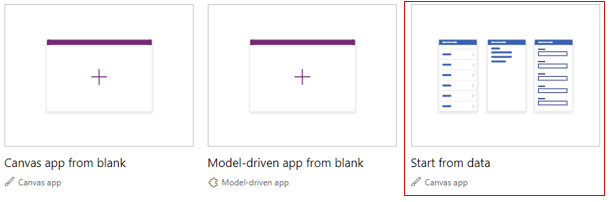
PowerApps offers three methods to create your new business app; creating a canvas app from blank, a model-driven app from blank or starting from data. For the purpose of this article, we’ll create an app from data in an existing Dynamics 365 environment. To start, hover over ‘Start from data’ on the PowerApps home screen and click ‘Make this app’.
You will now be asked to choose what data you want to use for your business app. At first glance you will be presented with the most common data connectors such as OneDrive, SharePoint and Salesforce. If these aren’t what you are looking for, simply click on the arrow to view all of the data connectors that Microsoft currently offer.

Dynamics 365 will be our choice for this demo. So to get stuck in, we’ll click the ‘Phone layout’ button underneath Dynamics 365. On the following screen we will click the ‘Create’ button.
You will now be presented with all of the Dynamics 365 datasets that you have access to. If the dataset you are looking for does not appear on this list, make sure you have the appropriate permissions.
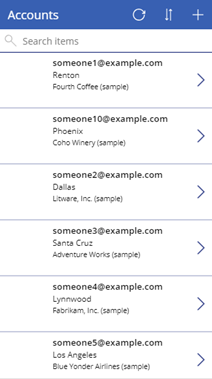
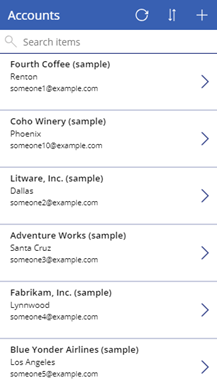
The next step is to choose the table that you want the initial design of the app to be based upon. PowerApps will create a basic, fully functioning, app from this data which you can customise and change at will. We will choose the ‘Accounts’ table as we are going to be creating a simple app to view account information at a glance. Let’s take a look at what has been created for us:
Now, if you are happy with the current state of the app and how it functions, you’re done! After you have saved your app you can click the ‘Share this app’ button under File -> Save to share your new creation with the rest of your organisation.
However, if you would like to customise and configure this app, read on…
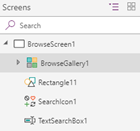 Let’s start with getting rid of that ugly blank space to the left of each account. To do this, look to the ‘Screens’ menu to the left of the window to view the structure of the screen you are currently viewing. This compartment is where you can view and customise each component that makes up the screen. The component that we are looking to edit is named ‘BrowseGallery1’ by default. To remove that ugly blank space, click on ‘BrowseGallery1’ and look to the right side of the window.
The right side of the window will now display the properties of the ‘BrowseGallery1’ component. In the ‘Layout’ row, you can click and change how the data is structured. Select the ‘Title, subtitle, and body’ option to get rid of that blank space. Much better!
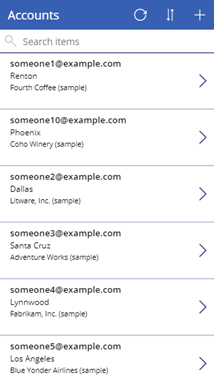
Now, at the moment for each account record the primary contact email is displayed, then the location of the account and then the name of the account is located at the bottom. I want to change it to have the name of the account at the top, followed by the location and then the primary contact email at the bottom. Again, we will click on the ‘Layout’ row and in the window that emerges we will configure the ‘Body2’, ‘Subtitle2’ and ‘Title2’ fields to our liking.
Once you are happy with the basic layout of your app, you may find that you want to add a bit of branding to make the app more at home within your organisation. To do this we will change the colour scheme. Let’s tackle the blue bar at the top of the screen first, we shall change this to dark red. Click on the component ‘RectQuickActionBar1’ and change the ‘Colour’ option to whatever you wish.
You will also notice that the ‘BrowseGallery1’ component has blue horizontal lines and blue navigation arrows. We will change this to match the bar at the top of the screen. To do this simply click on the component you want to change, and in the right side of the screen change the selected colour.
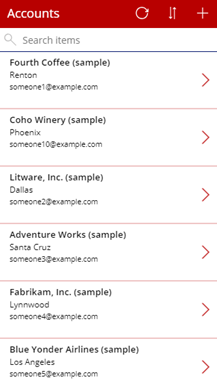
You have now created your very own PowerApp!
To find out how you can further take advantage of Microsoft’s products and services, check out our free workshops: Assess2Progress or Art of the Possible.