The Common Data Service has slowly been making its way into the spotlight in the Power Platform as a cost-effective way to manage and store business data.
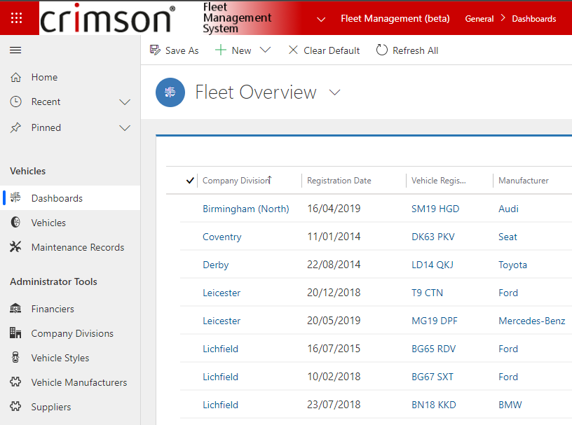
Right now in Microsoft Dynamics 365, you can create what are called Model-Driven Apps from a solution. These are your normal dynamics apps that run in the Version 9.0 UI and look similar to this:
As you can with Dynamics 365, you can also build apps off the back of a CDS solution. While you don’t have quite the same visual interface as you do with a Dynamics 365 MDA (namely the lack of any custom branding-see below), it functions the same:
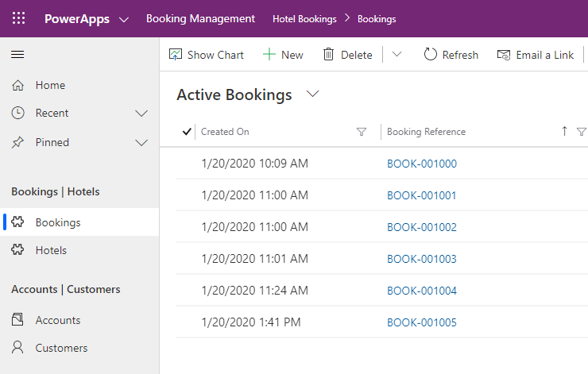
You also build them in the same way - configuring a sitemap and adding any entities and corresponding views, charts and dashboards.
Canvas apps on the other hand are very different. Where a Model-Driven app has somewhat of a fixed UI design, a canvas app can look and feel more or less however you, as a developer, want it to. They are a great way to build colourful and more bespoke-styled mobile solutions that can connect directly back to your underlying database. These apps can come in all shapes and sizes and can do far more than simply edit and create records. Below I will show you how to actually begin using canvas apps with your CDS solution by adding a simple pre-built app from data.
1) Getting set up
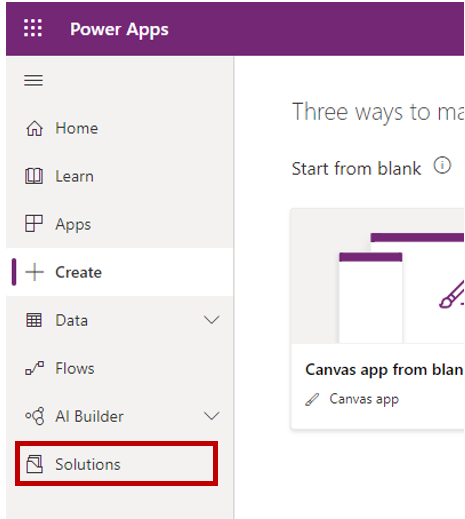
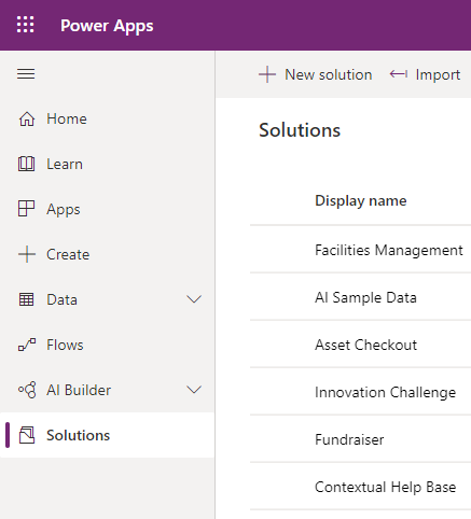
In order for a canvas app to be built off of a CDS solution, first such a thing needs to exist. To do this go to make.powerapps.com and click Solutions on the left-hand pane:
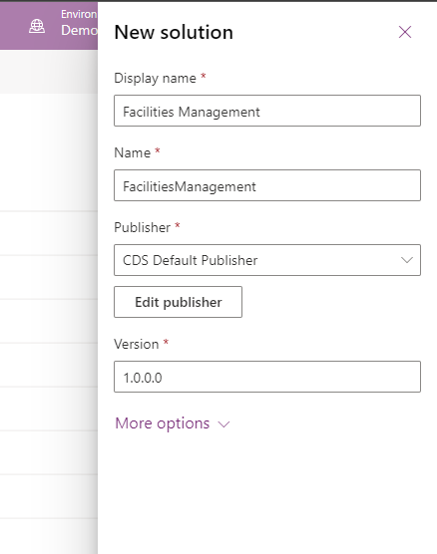
Next, click New Solution if you don’t already have your own custom one. From there, enter a display name, choose a publisher and enter a version number (e.g. 1.0.0.0).
So the next step is to flesh out your solution, using the out-of-the-box entities like contact and account, as well as any custom entities you wish to add. Once your solution is built move to step 2.
2) Adding an App
Now you have a solution fit for use, you can begin looking to add a canvas app. Assuming you are still on the Solutions tab, click the Create button on the left pane:
On the Create tab, there are 3 options provided to start creating apps. They are Start from blank:
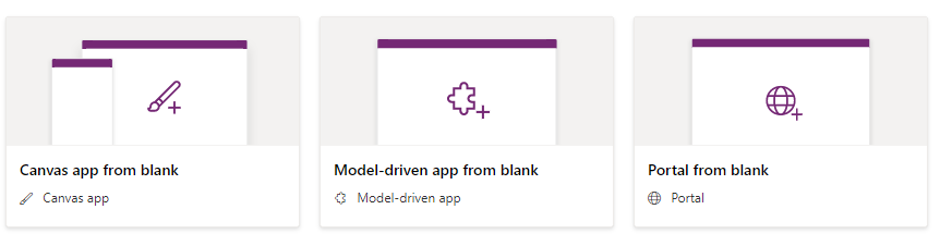
Start from data:
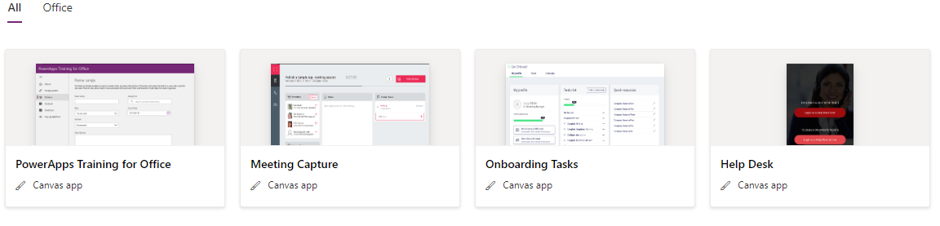
And Start from template:
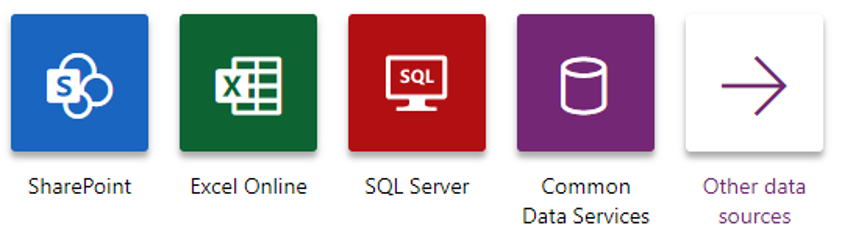
We will be using the Start from data style of creating an app. Click Common Data Services from the row of options available. You should then be presented with a new tab that looks like this:
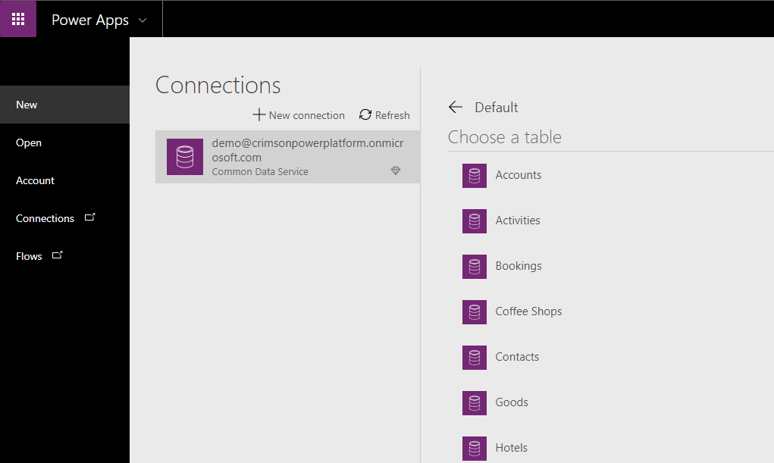
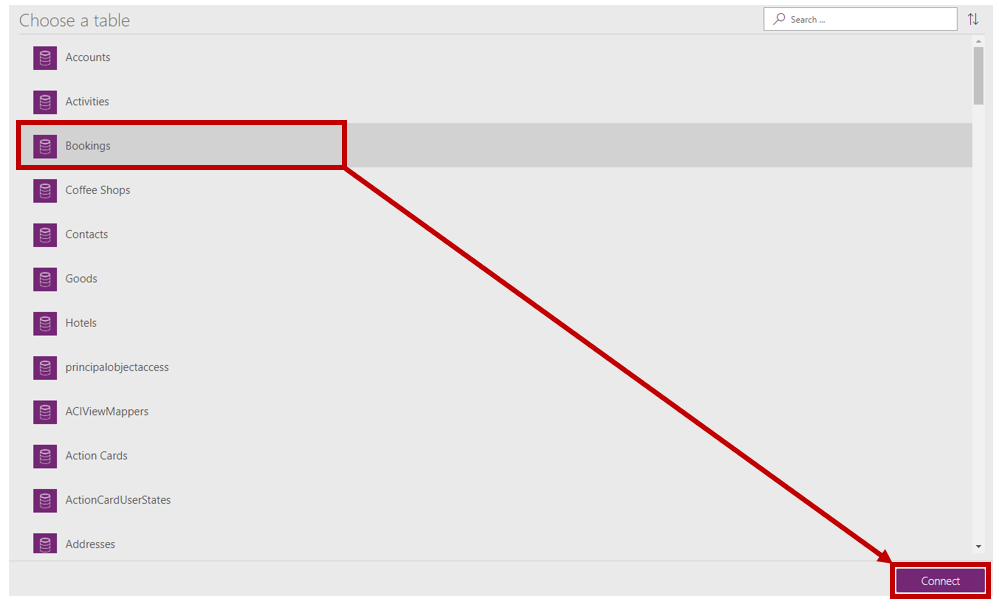
The next step is to choose the table (or entity) from which you wish to create the app for. For this example, I’ll be using the bookings entity from a hotel booking test I created. Simply click the entity you wish to use and then Connect in the bottom right of the window:
When you click Connect PowerApps will begin configuring the app for you. Once it has complete you will be presented with another screen that looks like this:
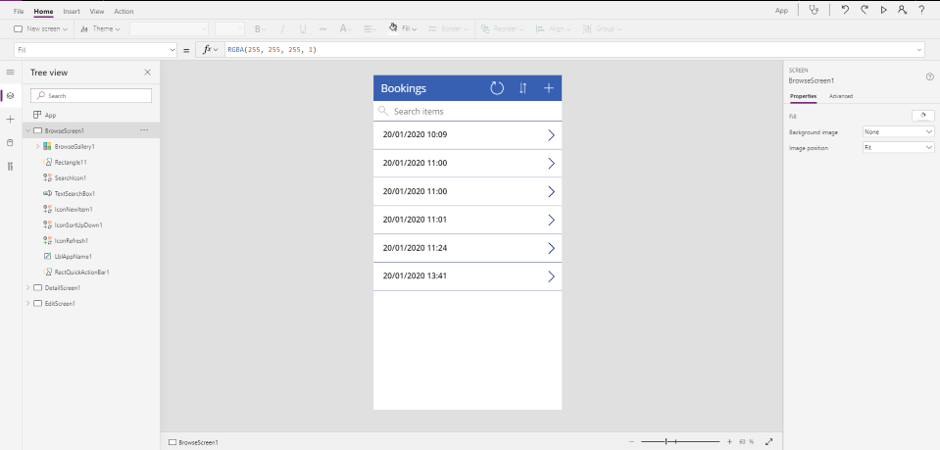
This is now a pre-built app generated from your own data and entity configuration. For me it has built a list view of bookings with an edit, create and view screen to add, change or see details on bookings. This pre-built app is the same for everyone out of the box, however there are some configuration options you can do to it as well as some more creative changes like colours, transitions and backgrounds.
Some simple changes to do are as follows:
- Changing the fields on the list view
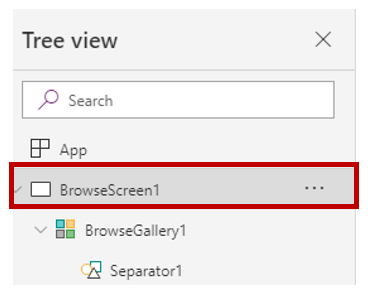
- Click the gallery on the left hand panel
- A right hand panel should appear
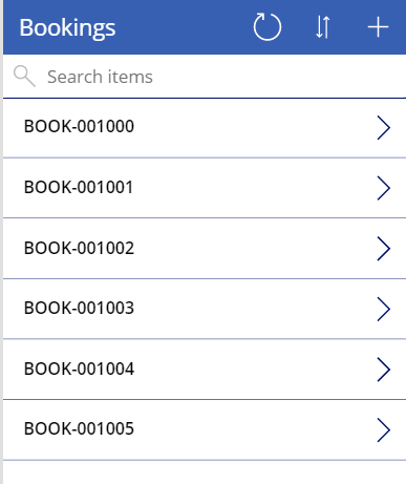
- Where it says Fields click Edit

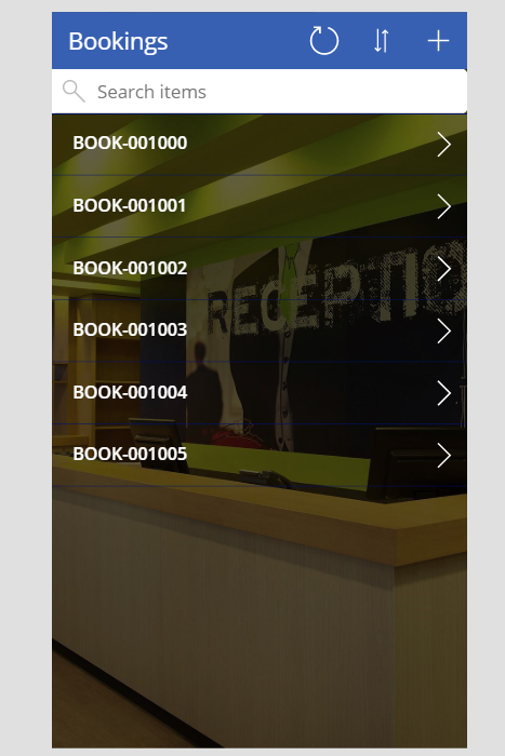
By clicking the Title dropdown, you will be able to change what is shown on the list. I have set it to a booking reference to make it easier to recognise records:
Adding a background to screens
- Click the screen from the left hand panel
- Click the dropdown on Background image and then click Add an image file
- Choose a file from your PC to upload
- When you have added it to the app, you can then choose an image position by clicking the Image position dropdown
- Choose Fill if you want the image to fill the entire screen. However, unless in the correct resolution it may crop at the edges
As an end result, see below:
There is plenty more you can do to make this pre-built app more bespoke for your target client or organisation, however as a very basic introduction into adding apps for CDS, this is a good starting point to begin expanding the app yourself. In part 2 I’ll discuss how to create your own canvas app from blank.
Crimson's business app team can assist you with more complex app development. Talk to the team today to see how far your organisation can go with Microsoft's suite of no code configuration tools.
Read On