When deploying Dynamics 365/Dataverse applications we normally create multiple reference data tables. This data is generally setup in the development environment and then needs to be moved into various other environments including UAT/Pre-Production and ultimately Production.
Often, this is done using the standard import/export tools and results in the manual handling of spreadsheets and wasted effort importing the data. It also puts the responsibility for ensuring the data gets imported in the correct order onto the user.
However, this blog shows you how to create a repeatable reference data migration, using “Data Transporter” from xRM toolbox and may save you many hours of tedious data imports.
What you will need
- A working knowledge of XrmToolBox.
- A working knowledge of Data Transporter.
- Access to two Microsoft Dynamics 365/Dataverse environments, one containing the source data, and one target environment to transfer the data into.
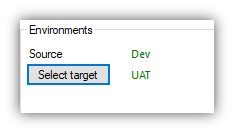
Step 1 – Open data transporter & connect to your environments
1.1 Navigate to xRM Toolbox and open data transporter.
1.2 Use the “Environments” box (top left) to connect to your source and target environments.
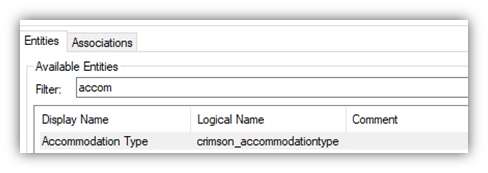
Step 2 – Setup data mappings
2.1 Use the entity/table list on the left-hand side of the screen to choose which entity / table you wish to use for the migration.
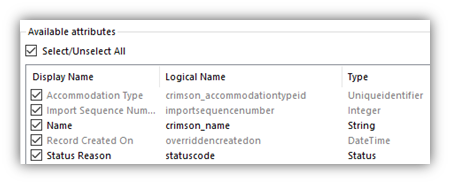
2.2 Use the field/column list on the right-hand side of the screen to choose which fields you wish to be involved in the migration.
Step 3 – Download data mappings
3.1 Click on the download button to save the current entity / table mappings to a local file. This can be found at the top right-hand side of the field / column list.
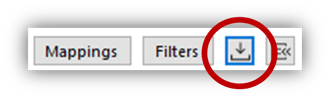
3.2 Save the mapping file to a folder on your local machine.
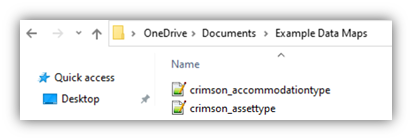
3.3 Repeat step 2 and 3 until you have downloaded configuration files for all the entities / tables that you wish you be part of the migration.
Step 4 – Setup a playlist
4.1 Click on the “Playlist” button at the top left-hand side of the screen.
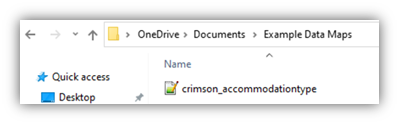
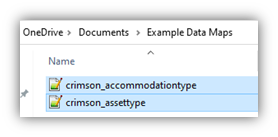
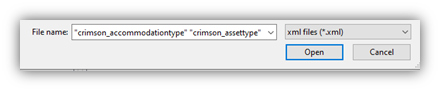
4.3 Locate the folder where you saved the configuration files during step 3. Highlight all the configuration files and click open.
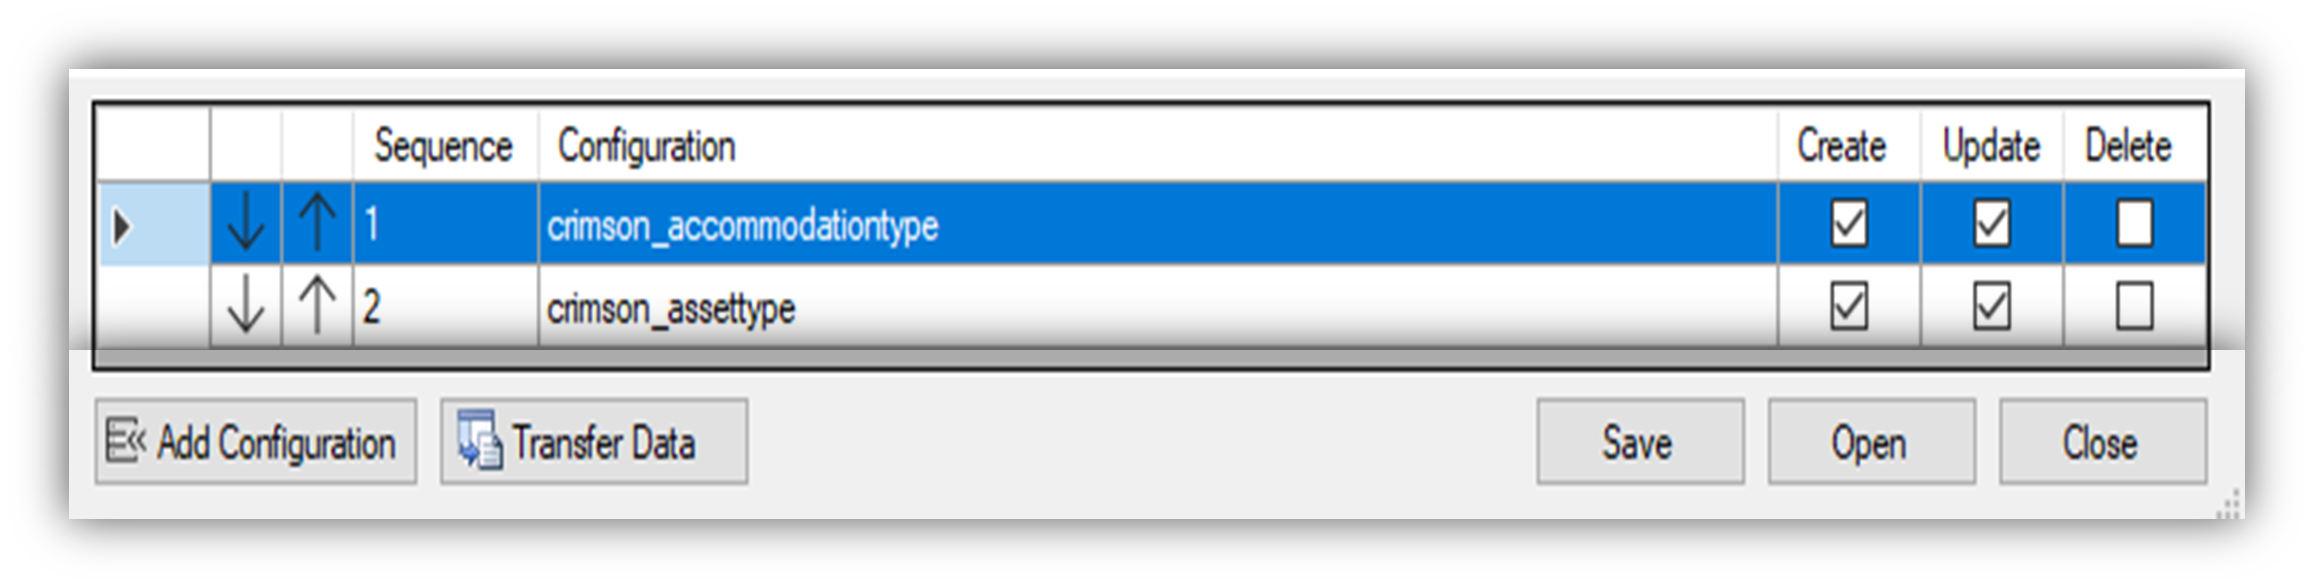
Step 5 – Configure the playlist
5.1 Click on the “Playlist” button at the top left-hand side of the screen.

5.2 Use the arrows on the left-hand side of the screen to control the sequence. This is the order in which the data will be migrated.
5.3 Use the tick boxes on the right-hand side of the screen to control what data operations will be carried out when the playlist is run.

5.4 Click on the “Save” button at the bottom right-hand side of the Playlist window.

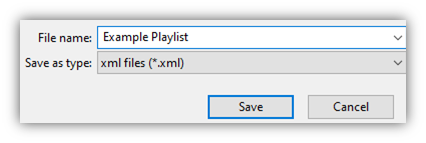
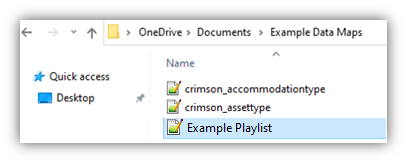
5.5 Choose a location to save the playlist file and click “Save”.
Step 6 – Load the playlist & migrate the data
6.1 Click on the Playlist button at the top of the screen.
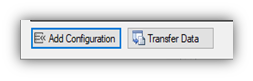
6.3 The playlist will load with the configuration we saved earlier on. Finally click on “Transfer Data”. This will trigger the playlist and the data will be transferred.
You will see a progress window on screen for each record set that you are migrating.
In summary, following the above steps will allow you will be left with a repeatable process for you to keep you reference data in sync between your environments.

Read On