With the introduction of Version 9.0 for Dynamics 365 and the new PowerApps-based solution editor, there is now a way to include autonumbering without the use of third-party managed solutions or plugins.
How to Add Autonumbering
In order to use the autonumber feature, you first need to ensure your Dynamics 365 instance is running on the latest version and you have access to the PowerApps solution editor.
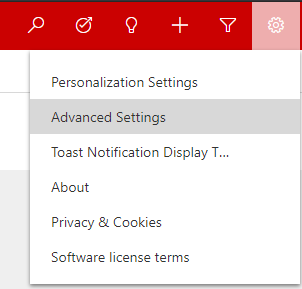
The easiest way to access this is to settings on your Dynamics solution. If you have a solution built in the new UI, click the settings cog and then click “Advanced Settings” as seen below:
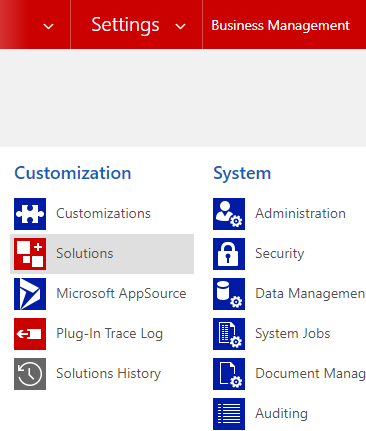
From here, you will be back in the old settings screen. Click the settings dropdown from the main banner and click “Solutions” under “Customisations”.
Find your solution in the list displayed and open it as normal. There should be a yellow banner at the top of the window like this:

Click “Try New Experience” to be redirected to the PowerApps editor. This is still being developed and as such has not completely replaced the old solution editor. It should open a window like this:
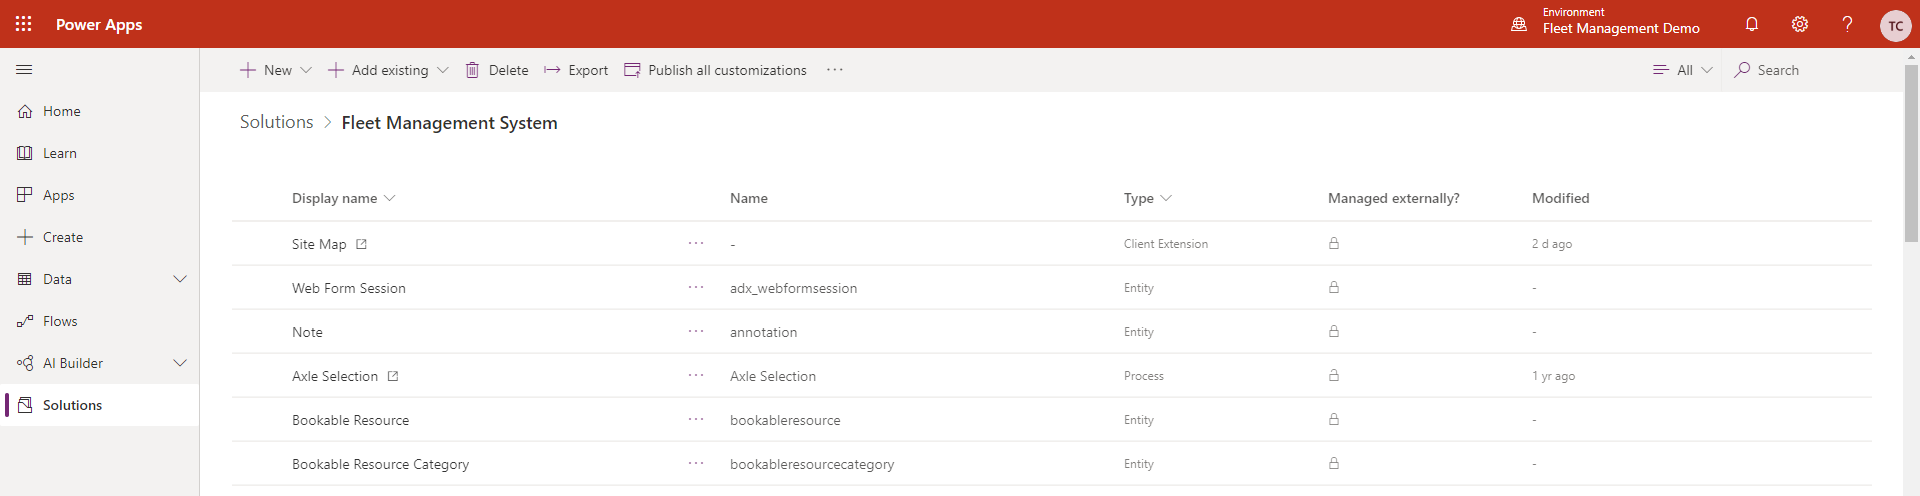
In order to start adding fields, select the entity into which you wish to add an autonumber. For example, I will be adding one to my “Maintenance Record” entity. Simply click the highlighted display name to open the entity: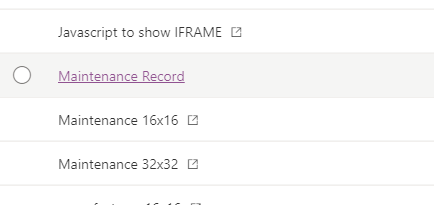
Next, click “Add field” from the top banner:

A side-menu should appear. From here enter your display name and field name as normal, however for Data type, click the dropdown and choose “Autonumber” from the Text partition:

You then have the option of changing the following:
- Autonumber type
- Prefix
- Minimum number of digits
- Seed value
The Autonumber type has 3 options-
- String prefixed number
- Date prefixed number
- Custom
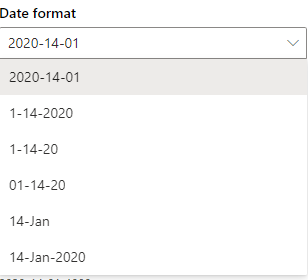
Prefix is what you wish to put at the start of your autonumber sequence. This depends on which Autonumber type you have selected. For example, this dropdown appears for Date prefixed number:
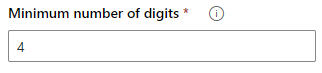
You can also adjust the minimum number of digits. By default, this is set to 4, but can be increased or decreased.
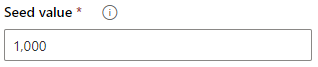
The Seed value is the number at which your autonumber sequence will start. By default, this is set to 1,000 but can also be changed depending on requirements.
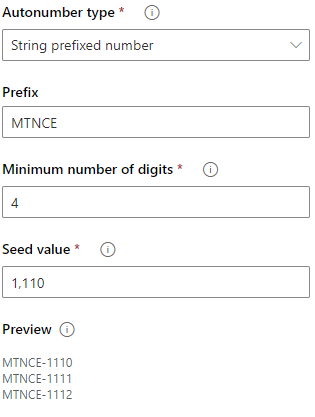
Once you have defined the above options, you are shown a preview of the generated autonumbers as seen below:
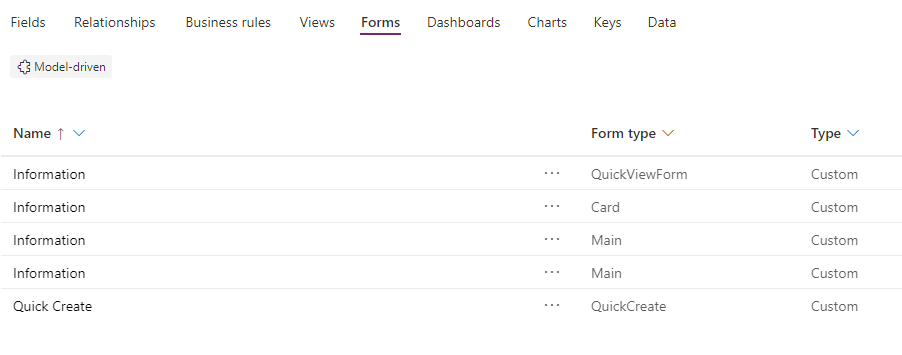
If you are happy with the format, click “Done”. The field is now ready to be added to the form. In order to do this in the new UI, you need to click “Forms” on the navigation bar and then open the form you wish to edit:
You should now be presented with a preview of the form. From here you simply need to drag the field from the tab on the left onto the form preview:
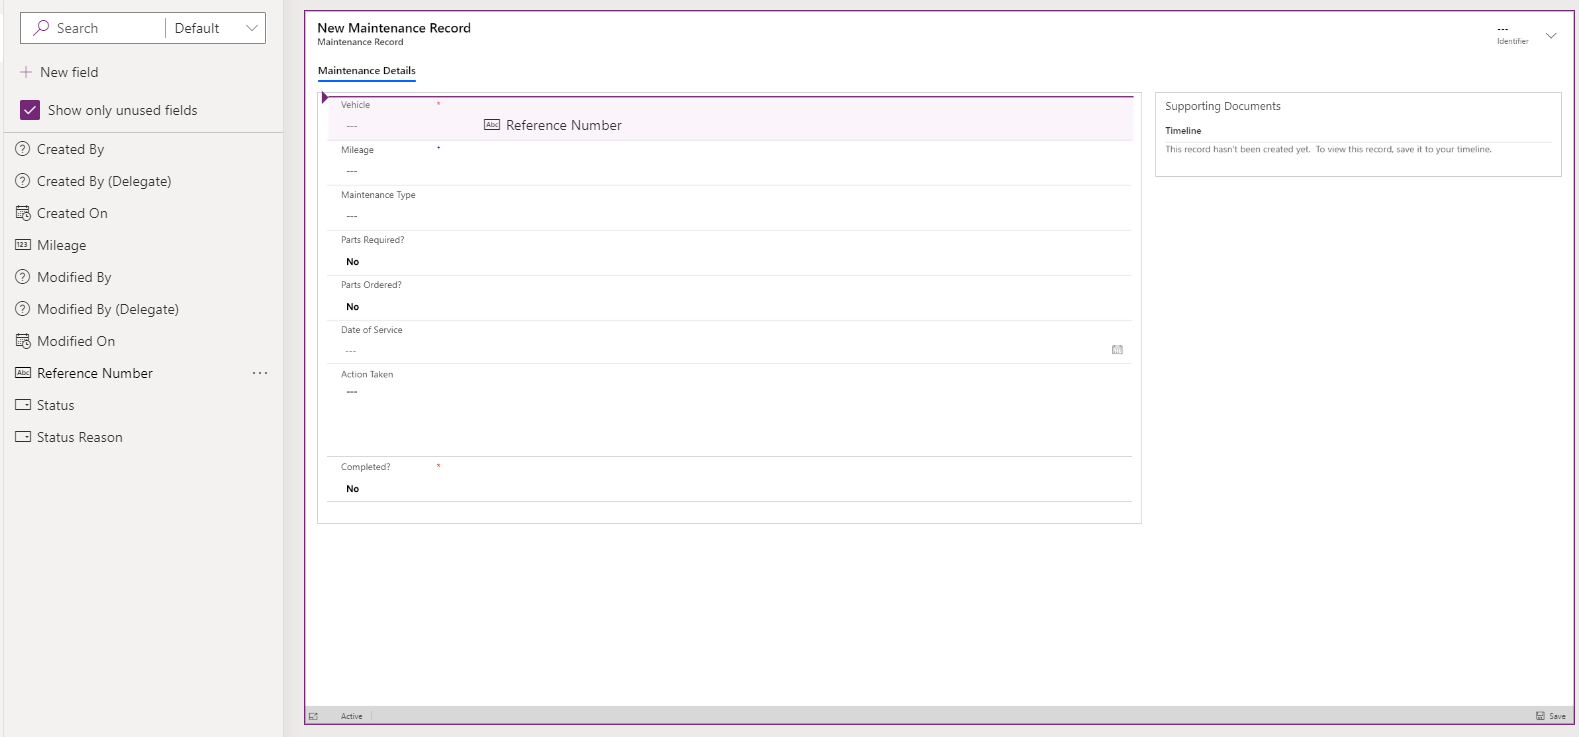
Finally, click “Save” then “Publish” in the top right of the screen to add these changes to your solution. You have now added autonumbering to an entity in CRM.
Read On

-Jun-01-2021-10-59-43-02-AM.png?width=352&name=Hubspot%20Blog%20Banner%20(1)-Jun-01-2021-10-59-43-02-AM.png)